How to order
Ordering custom stickers and labels is easy and only takes a few minutes. Discover how the process works below.
1. Choose your product
Your journey starts with the right product. But how can you find it?
Hover of the menu item "Products" the top left. You can choose between "Stickers", "Labels" and "Samples".
- Stickers are individually cut
- Labels are printed on sheets
- Samples are great to test your design
Click on the product you need to see our full range. You can then browse by:
If you need more guidance, use our instant assistant for a recommendation or ask our experts for a personalised answer.
2. Customise your product
Once you have selected your product, it's time to customise it by selecting:
- Your size
- Your material or shape
- Your quantity
At the very top, enter the width and height of your sticker or label.
Then, select your material or shape from the dropdown menu.
In our case, we can choose the material because we are on the die cut sticker page. Die cut already indicates that our sticker will have a custom shape.
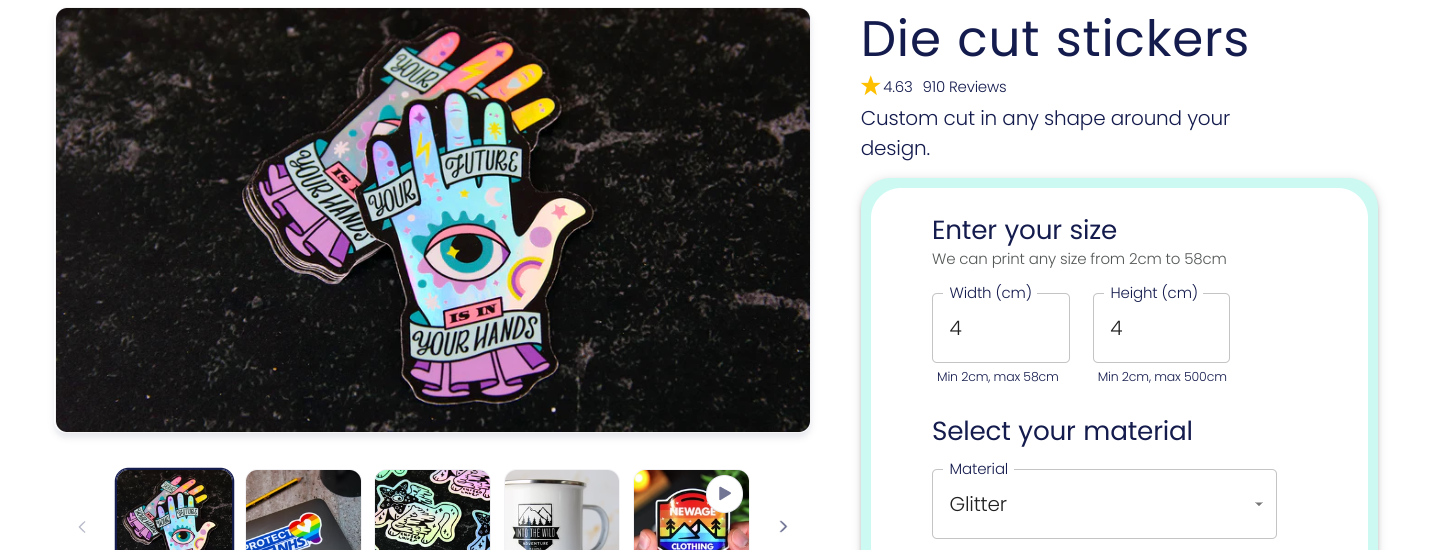
Once you have done that, you can see instant pricing broken down into various quantities.
At the bottom of the pricing calculator, you can enter a "custom quantity".
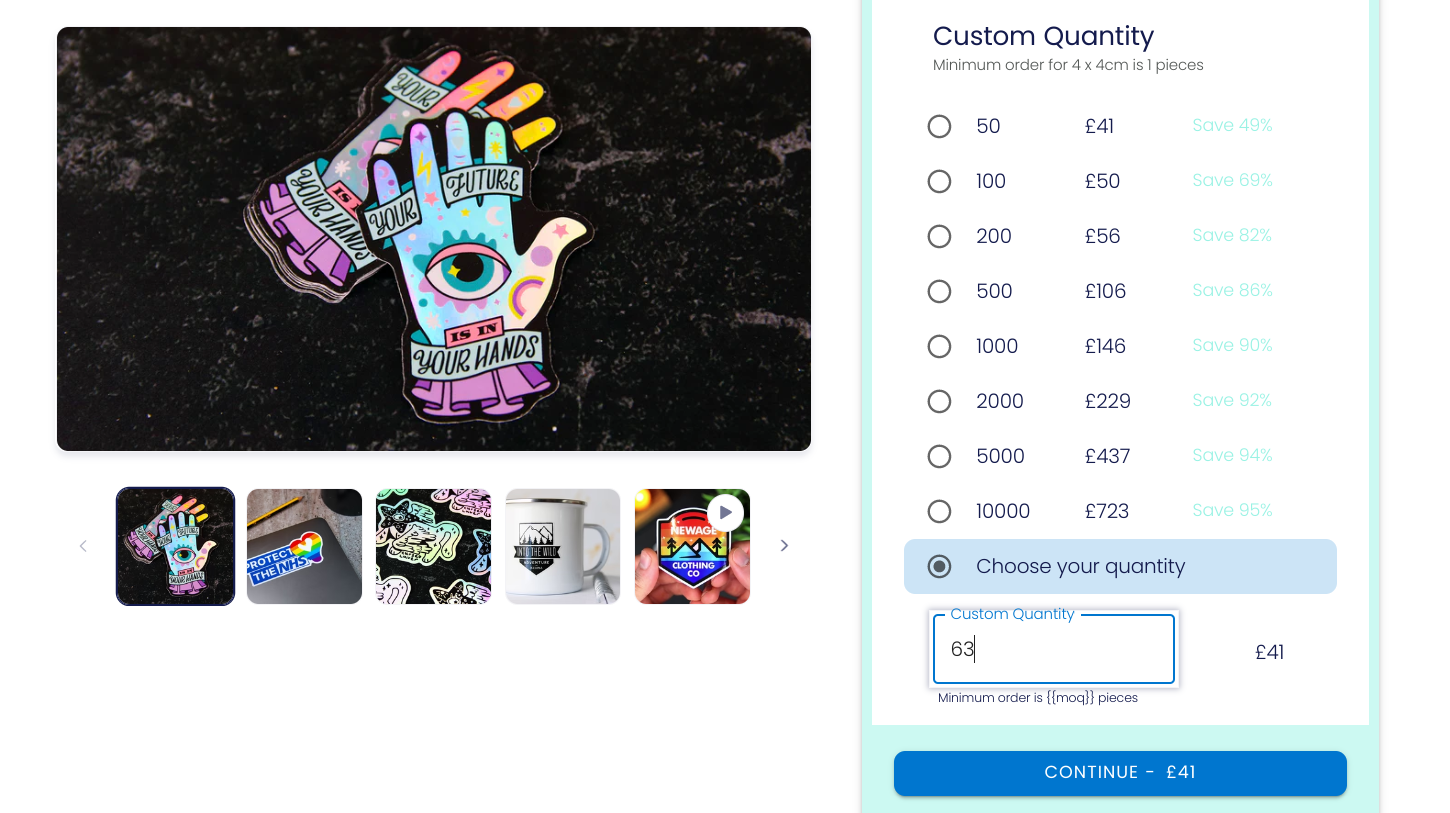
Select your quantity of choice and click "Continue" to upload your artwork.
3. Upload your artwork
You will see the below screen. Click "Upload artwork" and select your chosen file(s) from your computer.
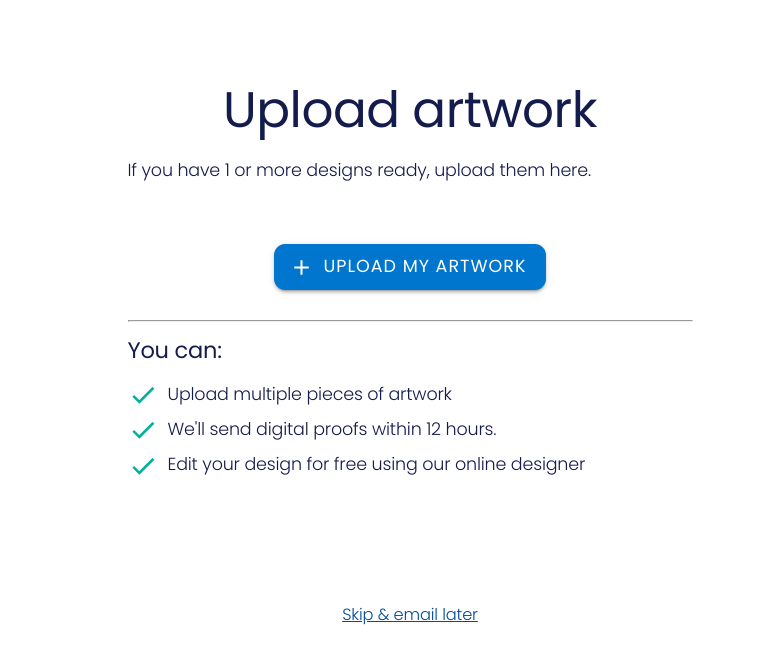
If you don’t have artwork
- Are you still waiting on your artwork? Then select "Skip this step" and email it to us later. Don’t worry; we’ll remind you via email.
- Canva or Graphic are excellent tools to create your own artwork in minutes for free. We even have a guide on how to export your artwork from Canva.
What our design team can do
We do not offer a design service. That means our designers can not create artwork for you. They can, however:
- Create a custom cutline
- Add a bleed
- Place white layers
- Make small changes to your artwork
We will send you a digital design proof showing potential changes and won’t print your design without your explicit approval.
4. Review your order
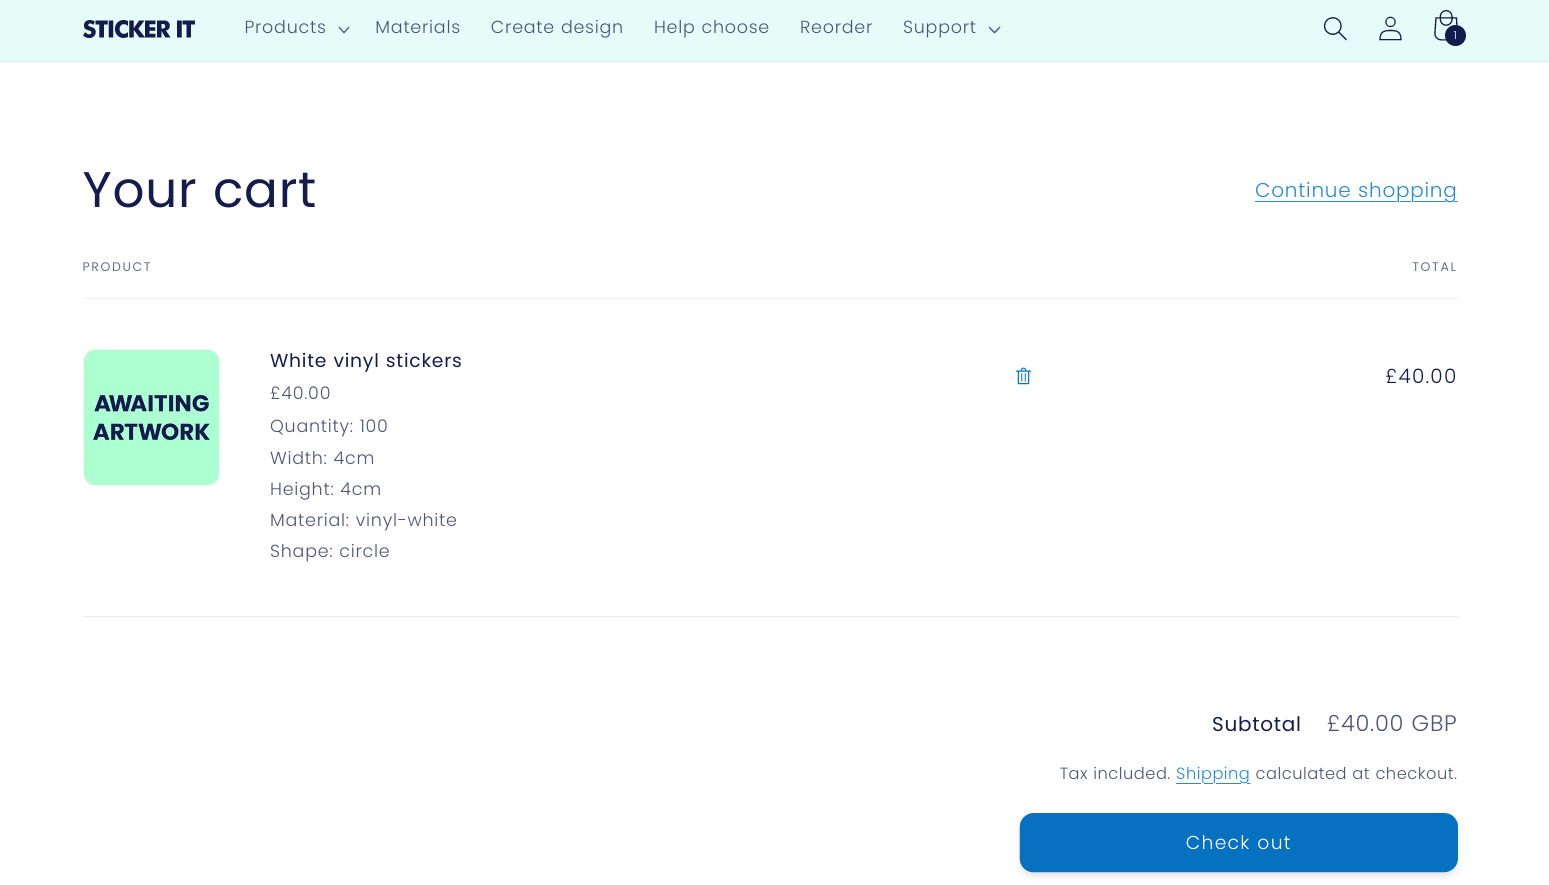
Now it is time to review your order. The cart page shows you:
- Your final price
- The quantity you've selected
- The dimensions of your sticker or label
- The quantity you choose
- And the shape
5. Approve your design proof
Within 12 hours of placing your order, we will send you a digital design proof that shows what your design will look like once printed.
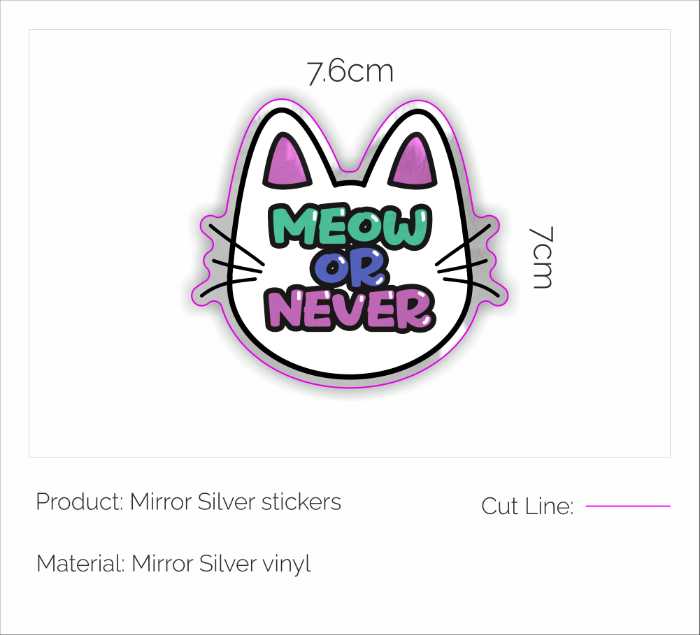
It will show your design on your chosen material and depict its size and cutline (a magenta or green line that will not be printed).
When looking at your design proof, check:
- The size of your sticker or label
- The shade of the colours
- Spelling or grammatical mistakes
You can either accept it or ask for unlimited revisions. Be aware that each change can take up to 12 hours to be actioned.
6. We get to work
After you have approved your design proof, our 4-working-day production time starts.
During this time, your design will travel through four stages:
- Printing
- Laminating
- Cutting
- Quality control
For more information, take a peak behind the scenes and discover how your stickers and labels are made.
Once your stickers and labels are ready, we ship them using the shipping option you selected. Please note that the 4-working-day lead time cannot be sped up by selecting express shipping.