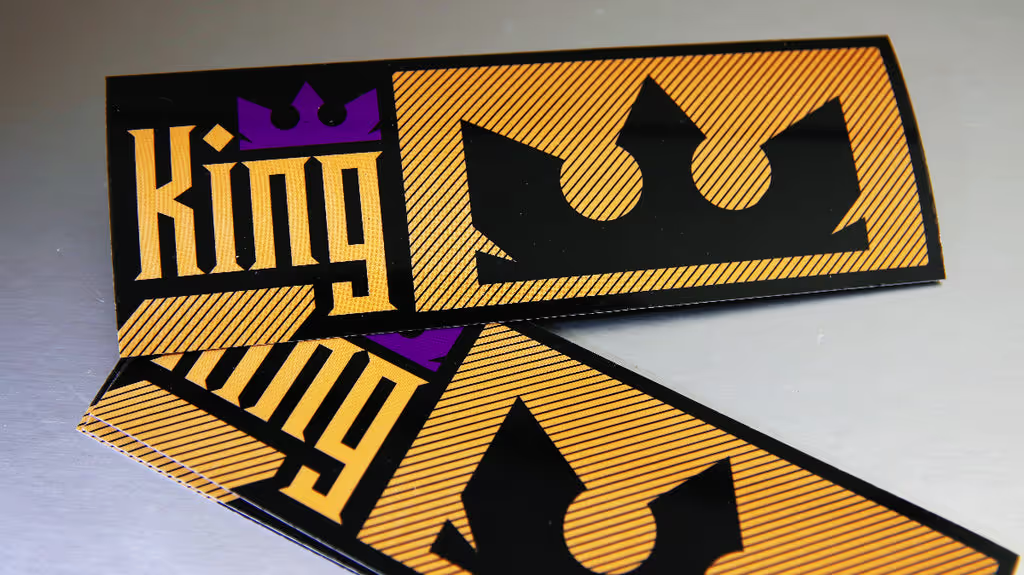
How to make custom magnets

Do you want to add a bit of fun and creativity to your fridge or filing cabinet? Or maybe you are looking for a unique way to promote your small business? Why not make some custom magnets?
It's easy, affordable, and will give any space a unique look! With just a few simple steps and materials, you can create your very own masterpiece. So grab your scissors and get ready for an exciting craft adventure!
What you need
Design software, a printer, printable material, a laminator (optional), glue, magnetic sheets, a cutting machine or a Xacto knife, a cutting matt, a ruler
Step 1: Create your design
Creating something unique and personal is the best part of making your own custom magnets. It's easy to make a design, no matter your experience level! If you don't have any artistic or creative background, plenty of free online tools like Canva allow anyone to create an eye-catching design quickly.
With pre-made templates and a wide range of fonts, colours, and other design elements, you'll have something special in no time. We also have more detailed tips on making custom word magnets.
Step 2: Find your material
For the best results, it's essential to choose the right kind of material for your magnet. To do that, you first have to understand how magnets are made. Thin, flexible magnets consist of two parts: the printable media and a magnetic sheet.
You can treat the printable media like you'd treat a custom sticker or label. It has either a vinyl or a paper base and should be compatible with your printer at home.
We recommend sticking with a vinyl material as it is easier to cut than paper options.

Step 3: Print your design
Once you've decided on the material, it's time to print your design! There are three things you need to ensure before hitting print:
- Is your design print ready?
- Is your printer set up correctly?
- Do all settings match the type of material you're using?
If you don't have a printer at home or are unhappy with the print quality, you can always take your design to a local print shop to get it printed professionally.
Step 4: Laminate your artwork (optional)
Laminating your magnet will help keep it looking great for longer and make it more resistant to scratches and water damage. It is essentially a thin glossy film applied on top of your printed design.
If you do not want to laminate your design - or you simply do not have a laminator, do not worry. It is not an essential step, especially if your magnets will not be used around water.
Step 5: Transfer your design to magnetic sheets
The next step is to transfer your design onto the magnetic sheets. Use thin and flexible magnetic sheets as this will make cutting them later much easier and gives you more flexibility (ha, get it?).
To attach your printed design to the magnet, you can use a thin layer of glue. Or, if you used a self-adhesive material to print your design, you can peel the backing paper now.
When you transfer your design, ensure that there are no wrinkles or air bubbles caught between the material and the magnetic sheet.
Step 6: Cut your magnet into shape
The last step is to cut out the magnet in the desired shape and size. Here, is where choosing a thing, flexible magnetic sheet pays off as you can simply cut it with a Xacto knife or a cutting machine like Cricut - be sure to read the instructions before, as you do not want the magnet to interfere with your machine.
Of course, the more simple the shape you want to create, the easier this step will be. Square and rectangle magnets lend themselves to the DIY approach as they can be cut easily with a knife, a cutting mat and a ruler.
Creating custom magnets is an easy and affordable way to add creativity to your home or business. With the right materials, design software, printer, laminator (optional), glue and magnetic sheets you can create a unique masterpiece in no time!
If you don't have any of these materials available or simply want to outsource the printing and cutting process, there are plenty of reliable businesses that specialise in making custom magnets for their customers.
Subscribe to our newsletter
Enter your email below to stay up to date on Sticker it's latest, including new product launches, exclusive deals and more.

